title: hello world
終于下決心把博客由wordpress搬到github pages上了。。其實(shí)主要是懶得折騰辽故。银还。這里把折騰hexo的過程記錄一下风宁,做個(gè)備用。
-
前提
- 安裝Git见剩;
- 安裝Nodejs杀糯;
-
安裝
- 打開Git Bash,用npm安裝hexo苍苞,步驟可以參考hexo官方教程:
npm install hexo -g -verbose
加verbose參數(shù)是為了查看詳細(xì)信息固翰,以免中途掛掉;
這里用的是Git Bash羹呵,不是cmd骂际;
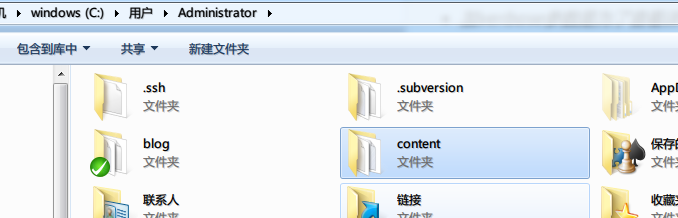
- 在本地創(chuàng)建目錄:
hexo init content
content為文件夾名,可以隨意
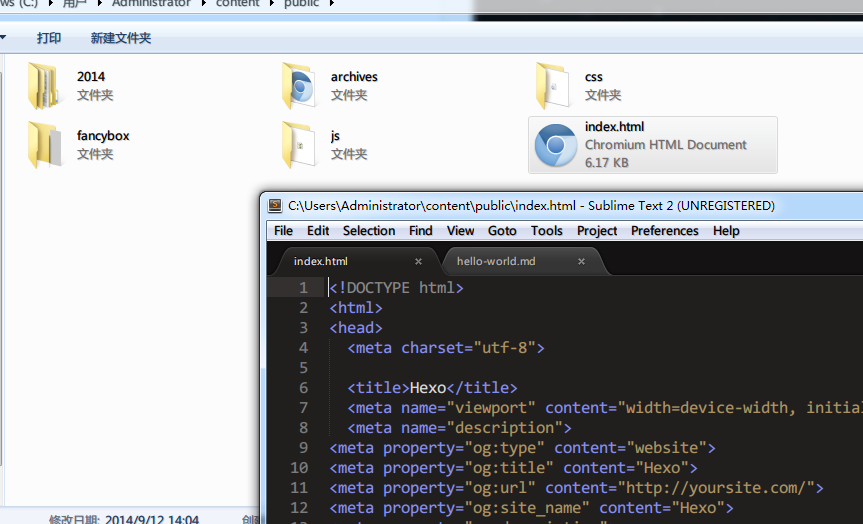
會(huì)在根目錄創(chuàng)建一個(gè)content文件夾冈欢,這個(gè)文件夾就是hexo的工作目錄:
工作目錄
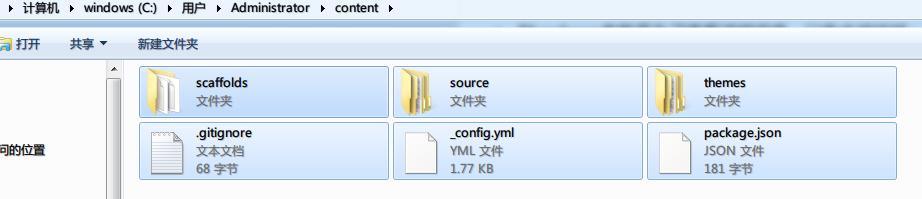
文件夾結(jié)構(gòu)
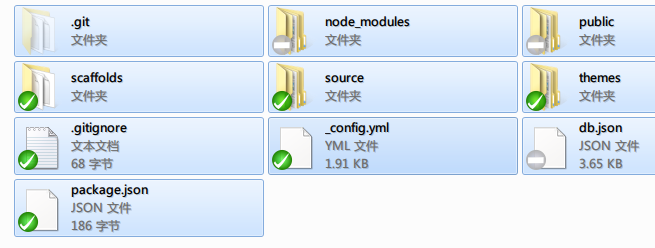
- 安裝node缺失的依賴包
cd content
npm install -verbose
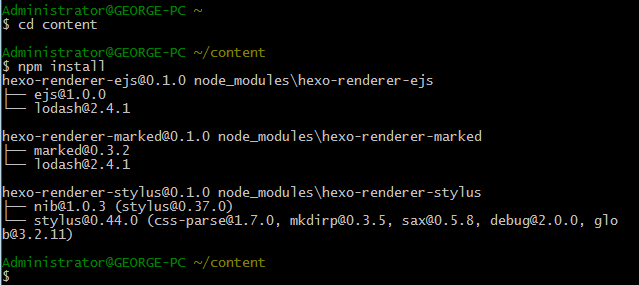
安裝依賴包
- 生成html靜態(tài)頁面歉铝,查看效果:
hexo generate
hexo server
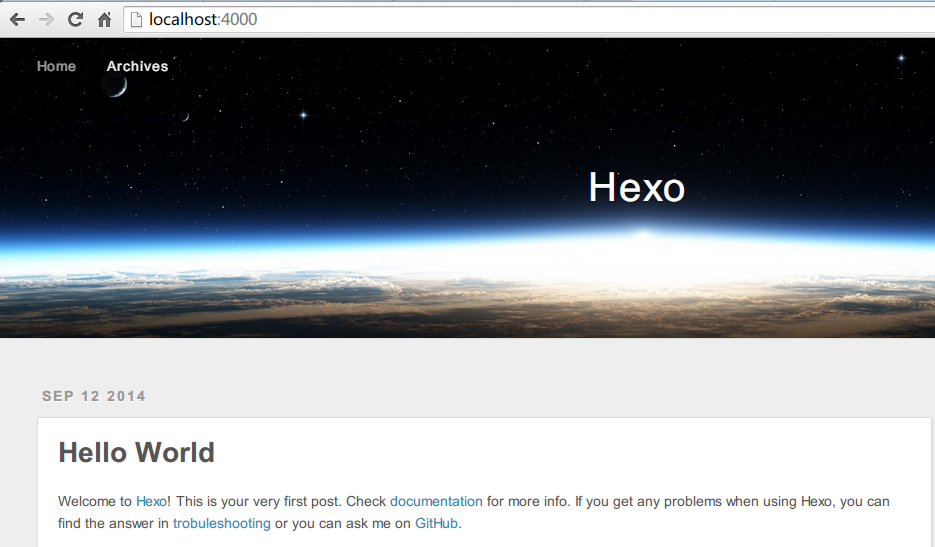
本地執(zhí)行效果

文件夾結(jié)構(gòu)
生成的靜態(tài)頁面
-
發(fā)布
- 打開_config.yml,修改deploy節(jié)點(diǎn):
deploy:
  type: github
  repo: https://github.com/imwower/imwower.github.io.git
type和repo的冒號(hào)之后有一個(gè)空格
- 發(fā)布到github:
hexo deploy
這里的發(fā)布使用的是https凑耻,需要手動(dòng)輸入github用戶名和密碼太示。ssh可能不太一樣
-
創(chuàng)建另一個(gè)git repo,把當(dāng)前文件夾內(nèi)容提交香浩,這樣以后直接clone這個(gè)repo类缤,就不需要再對hexo進(jìn)行配置,同時(shí)可以隨時(shí)修改博客內(nèi)容了:
 另一個(gè)repo
