一叠赦、github pages
github pages可以托管靜態(tài)網(wǎng)站流妻,免空間費(fèi)牲蜀,免流量費(fèi),值得你擁有绅这。
- 注冊(cè)github賬號(hào)涣达;
- 注冊(cè)完成后,右上角->your profile 可以看到自己注冊(cè)的github的名字(你的github名稱)证薇,這個(gè)很重要后面中創(chuàng)建blog的repository的時(shí)候要用到這個(gè)名字
https://github.com/#{your github name}
二度苔、創(chuàng)建repository
創(chuàng)建用于托管靜態(tài)頁面的github倉(cāng)庫
1. Repositories -> New
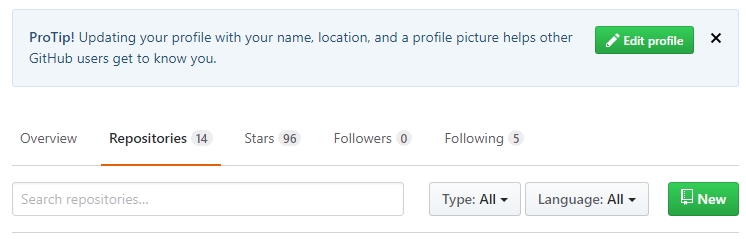
new repository
2. 設(shè)置repository name 這個(gè)名字一定是自己注冊(cè)的時(shí)候用的名字開頭浑度,也就是上面看到的#{your github name}再拼上.github.io
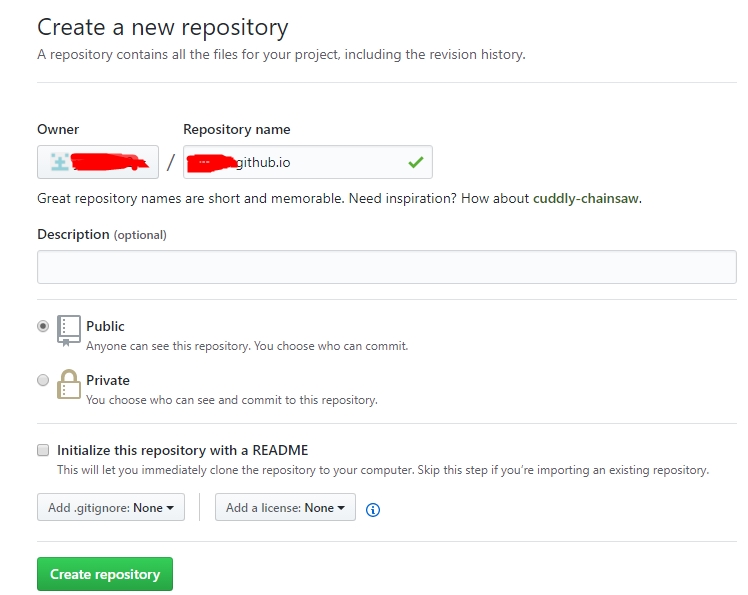
create a new repository
3. 選擇主題
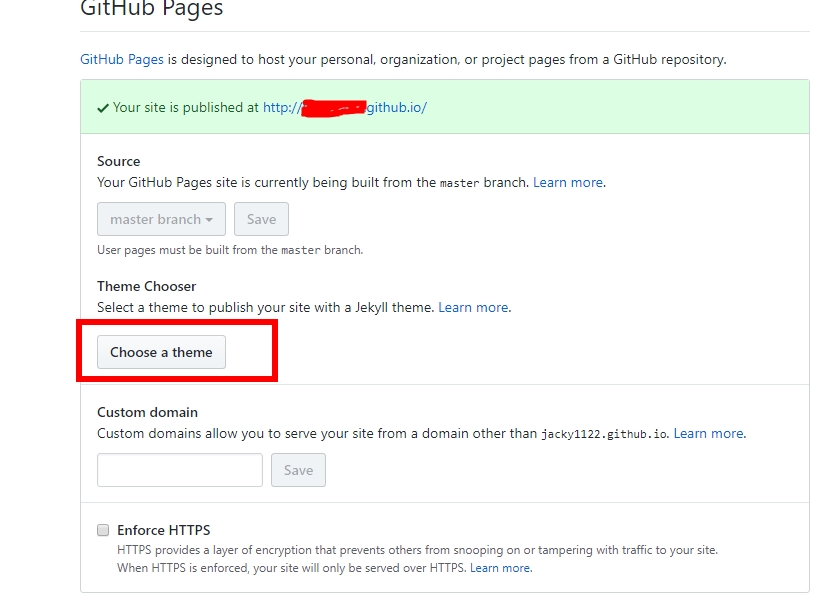
choose one theme
4. 設(shè)置theme
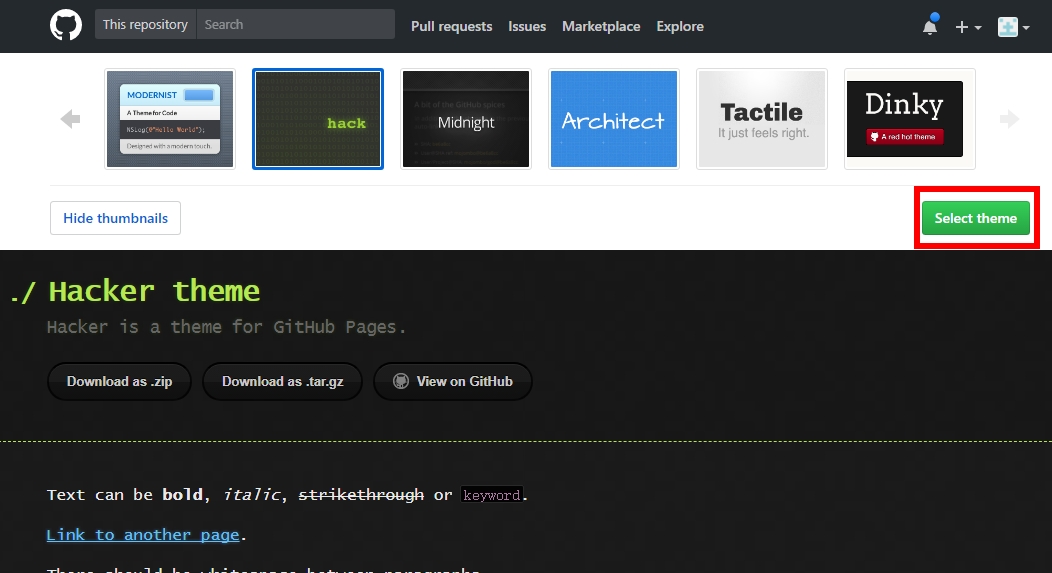
select theme
5. OK寇窑, 可以用http://#{your github name}.github.io/ 看你的blog了
6. 添加index.md, 在文件里寫上
    # My github pages blog.
    我的博客!B嵴拧甩骏!

    Hello world
刷新下 http://#{your github name}.github.io/ 就可以看到頁面更新了
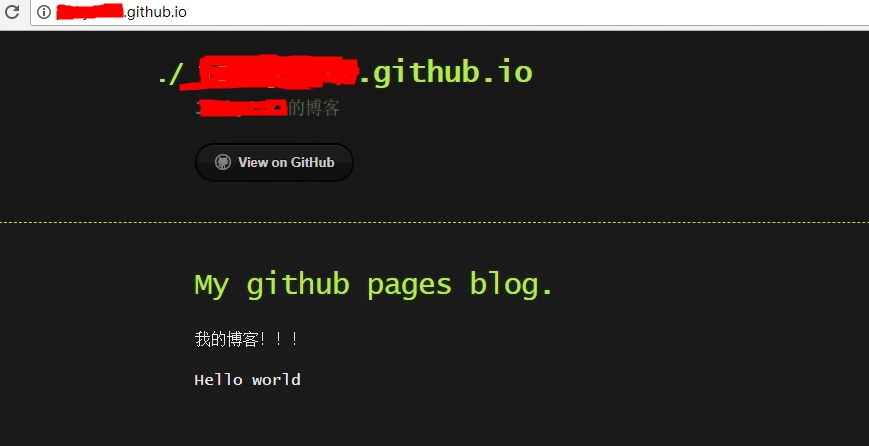
githubname github io blog index
三、設(shè)置ssh
為了方便后續(xù)將blog clone到本地伏钠,修改后push不用每次都敲用戶名密碼横漏,所以配下ssh
1. 下載git 客戶端, 一路next默認(rèn)安裝就可以了。git client下載地址
2. 安裝完git后熟掂, 然后右鍵git bash here
$ ssh-keygen -t rsa -C "你的郵箱"
三次回車后缎浇,生成id_rsa和id_rsa.pub文件
$ cd ~/.ssh
$ ls -l
$ cat id_rsa.pub
3. 將id_rsa.pub里的內(nèi)容復(fù)制貼到key中,確認(rèn)ok
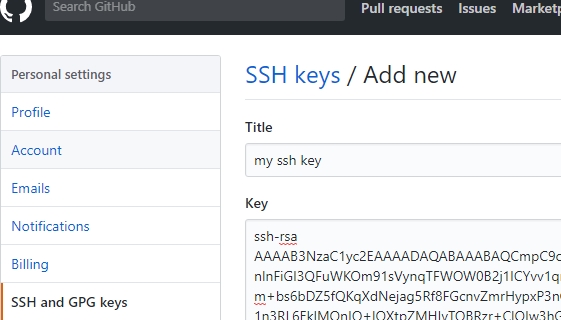
add ssh key
4. 然后將剛剛設(shè)置的key和本地綁定(中間輸入yes)

bind ssh key
5. 然后將郵箱和用戶名添加到global config赴肚, 以便后續(xù)提交代碼的時(shí)候素跺,可以識(shí)別到是誰在操作
$ git config --global user.email "你的郵箱"
$ git config --global user.name "你的github名"
6. 最后可以試一下git操作了
先clone blog的repository到本地, 然后隨便加句話"Let's GO!!!", 再push到github上去誉券。
$ git clone git@github.com:${you github name}/${you github name}.github.io.git
$ cd ${you github name}.github.io/
$ vi index.md
$ git add *
$ git commit -m "modify index.md"
$ git push
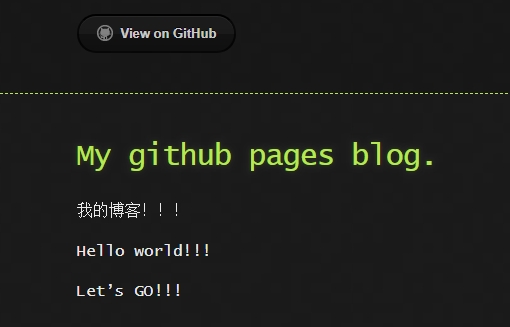
lets go
ok, 到這里結(jié)束了V秆帷!踊跟!
