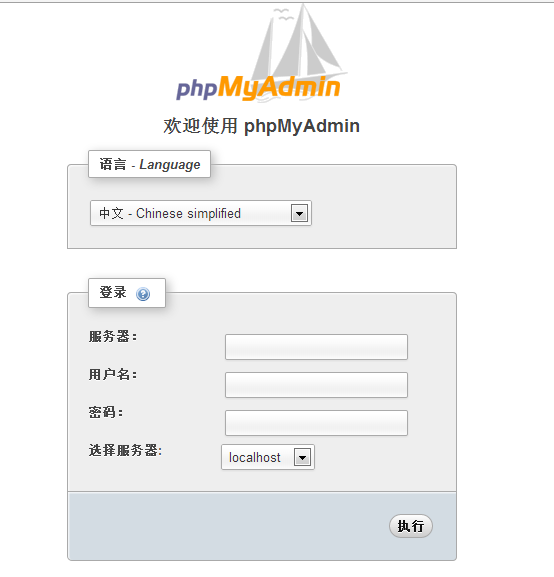
前言
默認(rèn)安裝phpMyAdmin,通常只能連一臺MySQL服務(wù)器,其配置信息是保存在phpMyAdmin的配置文件里的,當(dāng)我們需要在多臺服務(wù)器之間進(jìn)行切換登陸的時候愈捅,修改起來非常麻煩。遵照下面的配置方法慈鸠,我們可以方便的使用phpMyAdmin連接多臺MySQL蓝谨。
用phpMyAdmin簡化MySQL數(shù)據(jù)庫管理工作
更新歷史
2015年08月12日 - 初稿
閱讀原文 - http://wsgzao.github.io/post/phpmyadmin/
擴(kuò)展閱讀
配置phpmyadmin使登錄時可填寫IP管理多臺MySQL - http://www.oicto.com/phpmyadmin-mysql-ip/
phpMyAdmin - http://docs.phpmyadmin.net/
LTMP索引 - http://wsgzao.github.io/index/#LTMP
下載文件
1.從官方下載最新的版本
http://www.phpmyadmin.net/downloads/
2.解壓上傳至服務(wù)器中
3.PHP環(huán)境搭建可以參考以下文章
LTMP手動編譯安裝以及全自動化部署實踐 - http://wsgzao.github.io/post/ltmp/
方法1(推薦)
phpMyAdmin允許定義輸入的MySQL服務(wù)器IP地址,用戶名和密碼
修改/libraries/config.default.php為真即可青团,簡單安全省事
$cfg['AllowArbitraryServer'] = true;
方法2
phpMyAdmin修改config.inc.php譬巫,服務(wù)器地址為下拉列表可選登錄多個服務(wù)器
增加config.sample.inc.php文件,參考下面配置或者訪問setup手動生成
<?php
/*
 * Generated configuration file
 * Generated by: phpMyAdmin 4.4.11 setup script
 * Date: Fri, 10 Jul 2015 15:54:42 +0800
 */

/* Servers configuration */
$i = 0;

/* Server: 10.4.14.64 [1] */
$i++;
$cfg['Servers'][$i]['verbose'] = '10.10.6.64';
$cfg['Servers'][$i]['host'] = '10.10.6.64';
$cfg['Servers'][$i]['port'] = '';
$cfg['Servers'][$i]['socket'] = '';
$cfg['Servers'][$i]['connect_type'] = 'tcp';
$cfg['Servers'][$i]['auth_type'] = 'cookie';
$cfg['Servers'][$i]['user'] = 'root';
$cfg['Servers'][$i]['password'] = '';

/* Server: 10.10.1.172 [2] */
$i++;
$cfg['Servers'][$i]['verbose'] = '10.10.1.172';
$cfg['Servers'][$i]['host'] = '10.10.1.172';
$cfg['Servers'][$i]['port'] = '';
$cfg['Servers'][$i]['socket'] = '';
$cfg['Servers'][$i]['connect_type'] = 'tcp';
$cfg['Servers'][$i]['auth_type'] = 'cookie';
$cfg['Servers'][$i]['user'] = 'root';
$cfg['Servers'][$i]['password'] = '';

/* End of servers configuration */

$cfg['blowfish_secret'] = '559f78c86f22d8.48481095';
$cfg['DefaultLang'] = 'zh_CN';
$cfg['ServerDefault'] = 1;
$cfg['UploadDir'] = '';
$cfg['SaveDir'] = '';
?>