本文是《巧用UIView輔助開發(fā)》文集的第二篇琉预,從最簡單的UIView開始佩谷,學習iOS開發(fā)中的一點經驗技巧奥喻。
文集第一篇戳 手把手教你如何同時繪制圓角和陰影慕嚷。
原文鏈接:http://www.reibang.com/p/f9ac729758e0
效果圖
廢話少說哥牍,先上效果圖:
demo的源碼和圖片資源戳 https://github.com/caiyue1993/RolitaCircle
實現的效果主要使用的是 UIView 的 animateWithDuration 方法。UIView可以通過設置transform屬性做變換喝检,但實際上它只是封裝了內部圖層的變換嗅辣。
蘋果官方文檔中對 animateWithDuration 方法的介紹如圖:
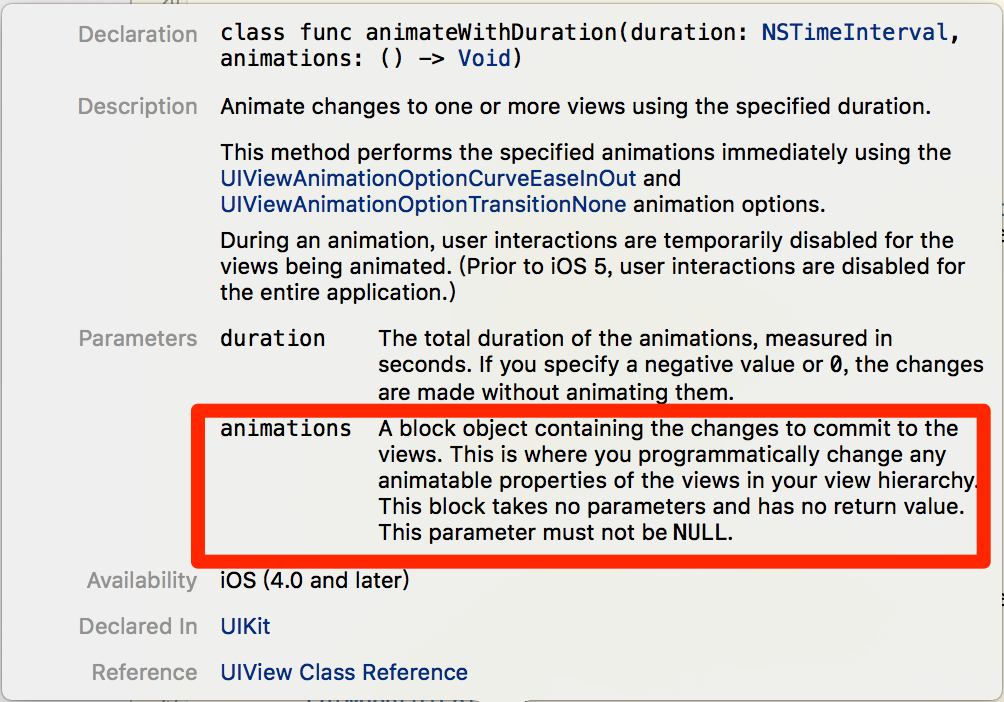
注意看劃線的部分,我們在傳給 animations 參數的 block 可以programmatically change any animatable properties of views in your view hierarchy 挠说。翻譯成中文就是澡谭,我們可以在這個block中對視圖中 animatable 的屬性進行更改,從而可以產生動畫效果损俭。
至于哪些屬性是 animatable 的蛙奖,只要 command 鍵點擊屬性去看即可潘酗,如圖:

使用貝賽爾曲線畫圓
關于貝賽爾曲線在這篇文章中就不介紹了,參見官方文檔 UIBezierPath Class Reference雁仲。
使用貝賽爾曲線畫圓仔夺,首先,我們可以建立一個Button的子類(不妨命名成LolitaCircleButton)用來繪制特定顏色的圓按鈕(加上陰影)攒砖,代碼如下:
    override func drawRect(rect: CGRect) {
        super.drawRect(rect)
        let path = UIBezierPath(ovalInRect: rect)
        color.setFill()
        path.fill()
    }
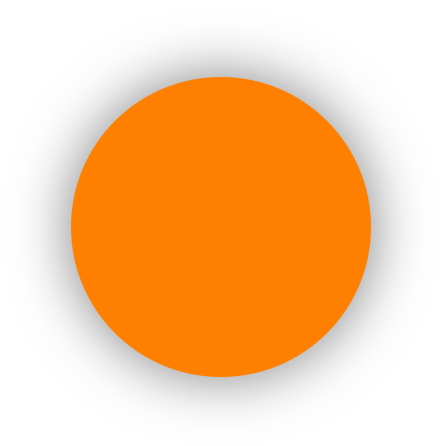
現在的效果如圖所示:
當我們點擊按鈕時缸兔,給按鈕加上縮小的動畫效果:
override func touchesBegan(touches: Set<UITouch>, withEvent event: UIEvent?) {
        super.touchesBegan(touches, withEvent: event)

        color = UIColor.whiteColor()
        setNeedsDisplay()

        UIView.animateWithDuration(0.15) {
            self.transform = CGAffineTransformMakeScale(0.9, 0.9)
        }
    }
當釋放按鈕時,加上回收的效果祭衩,還是直接上代碼吧:
override func touchesEnded(touches: Set<UITouch>, withEvent event: UIEvent?) {
        super.touchesEnded(touches, withEvent: event)

        color = UIColor.orangeColor()
        setNeedsDisplay()

        transform = CGAffineTransformMakeScale(0.0, 0.0)

        UIView.animateWithDuration(0.4, delay: 0, usingSpringWithDamping: 0.7, initialSpringVelocity: 0.5, options: [], animations: {
            self.transform = CGAffineTransformIdentity
            // CGAffineTransformIdentity也可替換成CGAffineTransformMakeScale(1.0, 1.0)
            }, completion: nil)
    }
然后加上按鈕在normal狀態(tài)和highlighted狀態(tài)顯示的圖片灶体。
func commonInit() {
       setImage(UIImage(named: self.imageURL)?.imageWithColor(self.color), forState: .Highlighted)
       setImage(UIImage(named: self.imageURL), forState: .Normal)
   }
// 其中imageURL是初始化時外部傳入的圖片地址
這樣,開頭的按鈕動畫就完成了掐暮。具體的實現細節(jié)蝎抽,請戳下面的鏈接。
Gist 地址: BubblePop
《巧用UIView輔助開發(fā)》系列第二篇就寫到這里路克。
